Introduction
Users can register for courses from the Course/Registration screen.
Note: The Course Information screen will appear differently depending on what options the administrator has enabled.
Procedure
1. Locate the course for which you want to register.
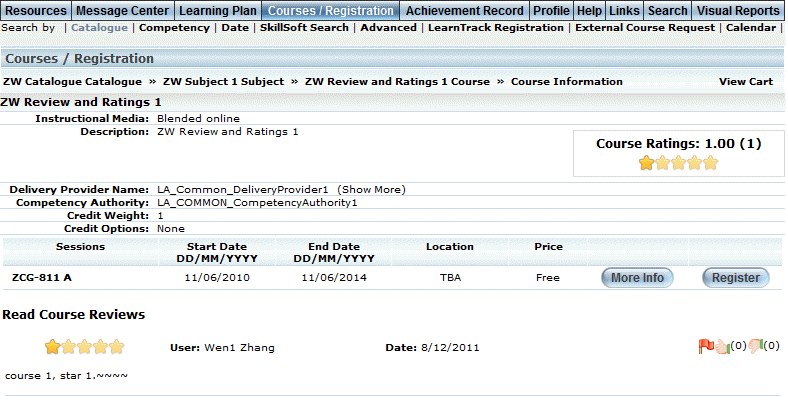
A screen similar to the following is displayed:
Registering for a Course
This screen displays information, such as instructional media and the description, of the selected learning activity.
Note: The Prerequisites label is displayed when security setting 534: Course Prerequisites Display is enabled, and prerequisites have been defined for the course. However, the display of the Prerequisite Notes label is not affected by the security setting.
Note: The Job Position label is displayed only when security setting 194: Job Position Display is enabled.
If at least one session has been scheduled for this course, basic session information will appear at the bottom of the screen.
2. You can perform the following operations from this screen:
· When displayed, check the Show me sessions in my region box to view only those sessions that are occurring in your region. This information is based on the region specified in your work address.
Note: This box is displayed when security setting 623: Sessions in my region flag is enabled.
Note: This box may be checked by default when the Sessions Search My Region Default box is checked in the Client Setup global settings. Contact your LearnFlex representative for more information about this global setting. Also, when this default filtering is enabled, courses in your calendar are displayed according to the region and location entered in the Work Address area of your profile. Use the Region and Location drop-down lists to search for courses in other regions and locations.
· If no sessions are available, click the Session Request button (when available) to request that a session be added. See Requesting an Internal Session for details.
· Click More Info to display a pop-up window that contains information about the learning activity, such as start date, end date, room location, and presenter of the learning activity.
· For courses or workshops with a status of either Enrolled or In Progress, click the status link to access your learning plan. If the course is not a requirement of a LearnTrack you are currently enrolled in, the link goes to the All Courses screen. If the course is a requirement of a LearnTrack you are enrolled in, the link will go to the LearnTrack screen. If LearnTrack Version 2 is enabled, the link goes directly to the specific LearnTrack.
Note: This functionality is available only when security setting 778: Link to Learning Plan on Enrolled/In Progress Courses is enabled.
Note: Statuses (instead of links) in the Status column indicate why a user cannot register in the session. A status of Completed indicates that the user has already completed the session and the course does not allow re-enrollments. A status of Course Restricted indicates that an enrollment restriction has been applied to this user. Finally, a status of Promo means that the session is available for viewing in search results but not available for registration because the session has been designated as Display Only.
· Click the View Conflicts link to view details about how the current session time conflicts with a session in which you are already enrolled.
Note: This functionality is must be enabled at the session level for conflicts to be detected.
· Click the Add to Cart button if you want to purchase a selected learning activity. See Purchasing a Learning Activity for details.
· If the session's maximum attendance capacity has been reached, click the Add to Wait List button to be added to its waiting list.
Registration into the session from a waiting list is on a first come, first served basis. You will receive a message notifying you that your registration is successful if more spaces become available.
· Click Register to enroll in the learning activity.
Note: When enabled, anonymous users who are browsing an anonymous catalogue of courses can click Register and be redirected to the LearnFlex login screen. Once they have logged in, they will then be brought back to the Course Information screen. Security setting: 843: Anonymous User Navigation must be enabled to allow anonymous users this route for logging in.
Note: This button is displayed when security setting 754: Register Button is enabled and when you are allowed to enroll or re-enroll in a course. If you have completed a course that is not configured for re-enrollments, then a status of Completed is displayed instead of the Register button.
You will be asked to confirm the registration.
· Click OK.
The screen is re-displayed:
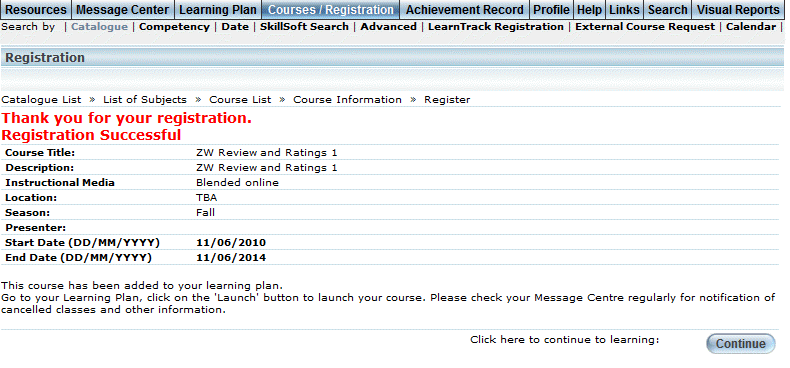
Successful Course Registration
This screen indicates if your registration was successful, and provides you with any other necessary information. Additionally, a message confirming your registration is automatically sent to your personal Message Centre and to the email account found in your profile. At this point, the course you have registered for now appears in your learning plan with the appropriate status (Enrolled), where you can access the course and launch it (for online courses).