Introduction
Part of the E-Commerce module, the shopping cart is a function that permits you to purchase one or more courses in one convenient payment.
Procedure
1. Find a course that you would like to purchase.
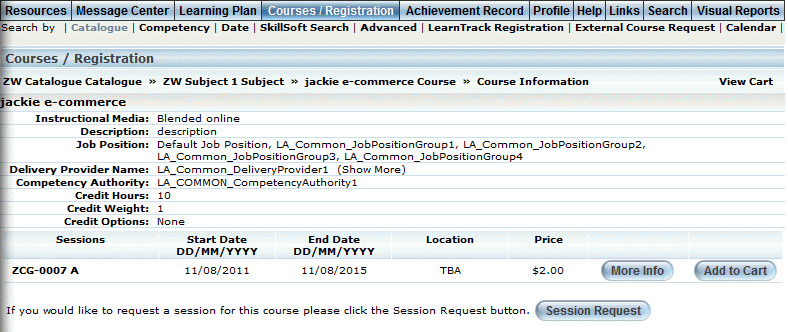
A screen similar to the following is displayed:
Adding a Course to the Shopping Cart
Hint 1: If you have added any courses to your shopping cart, you can click View Cart located at the right-hand side of the screen.
Hint 2: You can check the Show me sessions in my region box if you want to view only those sessions that are taking place in your region. This is based on your work address information. This feature is useful when the list of sessions is very long or when sessions for a selected course span several regions.
2. Next, click the Add to Cart button to add this course into your shopping cart.
Note: This button is displayed when security setting 754: Register Button is enabled.
Note: If you have already added the course to your shopping cart, the Add to Cart button will be replaced by the text In Cart indicating that the course is already in the shopping cart. When available, you can click the View Cart link at the top of the screen to view its contents and continue with the purchase (enabled within Community Basics).
You will be asked to confirm that you want to register in this course.
3. Click OK.
The Shopping Cart screen is displayed:
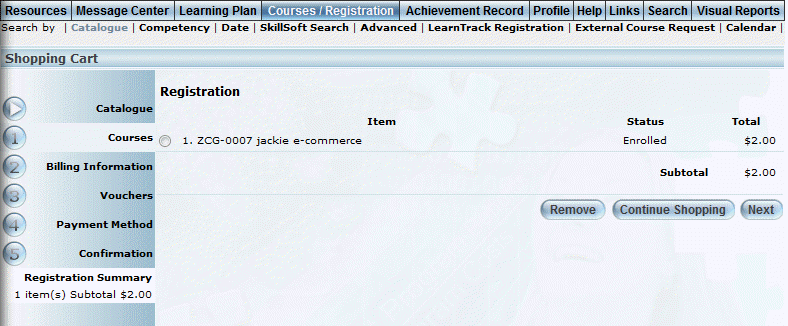
Contents of the Shopping Cart
This screen displays the courses that you have currently purchased.
4. You can perform the following operations from this screen:
· To withdraw your registration from a course, select the necessary option buttons and click Remove. At this point, you will not be charged for this course.
· Click Continue Shopping to add more courses to your shopping cart. You will return to the sub-menu of the Courses/Registration module from which you selected the learning activity.
· Click Next to continue with the registration process.
The Registration – Billing Information screen is displayed:
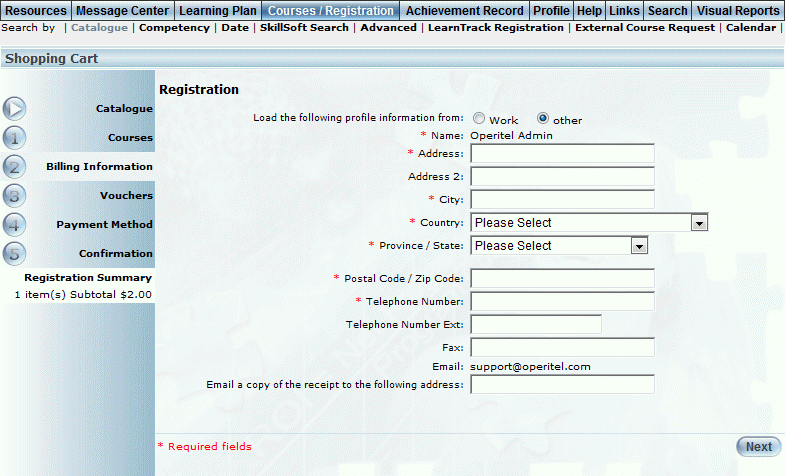
Billing Information
Use this screen to specify your billing information.
5. Use the Load the following profile information from option buttons to specify the address LearnFlex will use to populate the information on the rest of the screen.
If you select Work, then the information will be taken from your work address information (although you can change the information here for this operation only). If you select Other, you will need to enter your billing information manually. The following instructions assume that you need to complete all fields.
Note: If the user has logged in to the system anonymously, an account will have to be created for this person.
6. In the Address and Address 2 fields, enter your street address details.
7. In the City field, enter the city of your billing address.
8. Use the Country drop-down list to specify the country of your billing address.
9. Use the Province/State drop-down list to specify the province or state of your billing address.
Note: If the selected country does not consist of provinces or states, then no values will be available in this list. You will need to enter the geographic region in the following text box.
10. In the Postal Code/Zip Code box, enter your postal or zip code.
11. In the Telephone Number and Telephone Number Ext fields, enter your complete telephone number.
12. In the Fax field, enter your fax number.
The Email value displays your email address. This cannot be changed.
13. In the Email a copy...field, enter a secondary email address to which you would like to have the receipt sent.
14. Click Next.
The Vouchers screen is displayed:
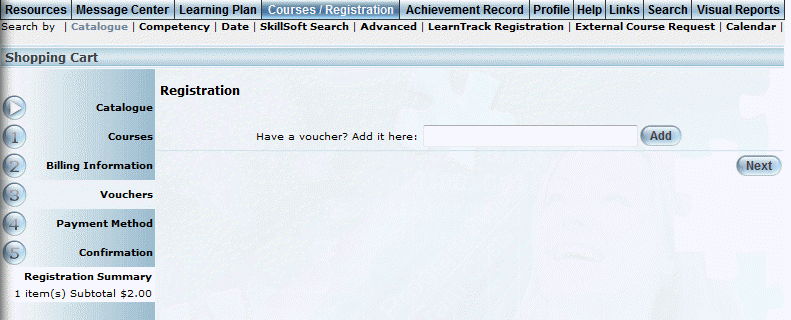
Applying a Voucher to Course Registration
Use this screen to apply any vouchers you have towards the payment of this course.
Note: You can apply only one voucher to a single transaction.
Your administrator would have provided details about any vouchers that you may have. Also, if you have a voucher but are unsure of the amount (existing or remaining, you will need to contact your system administrator.
15. In the available field, enter your voucher key.
If you do not have a voucher key, or if it is invalid, you can proceed with the course registration, but without the voucher being applied.
This value is not case-sensitive.
16. Click Add.
Assuming that the voucher key was valid, the following screen is displayed:
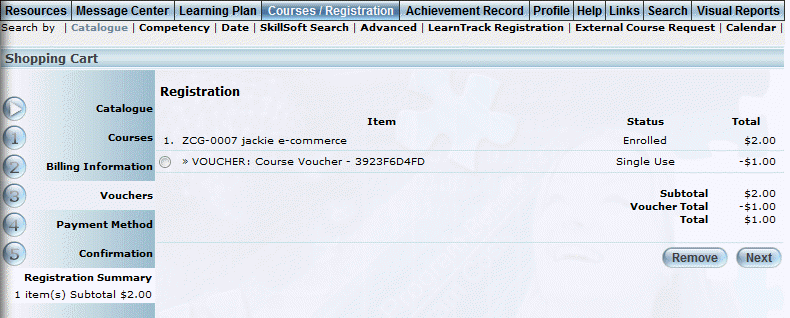
Vouchers Applied to Course Registration
This screen displays those courses that are in your shopping cart, and any vouchers you have applied to your purchases. Based on the cost of your courses and the amount of your voucher, the re-calculated cost of your courses is displayed.
Note: The type of voucher (indicated in the Status column) dictates the number of times that you can use your voucher and if you can re-use it when there is a remaining amount.
Note: The value for the voucher in the Total column indicates the amount of the voucher that is being applied to the purchase, and not the voucher amount. LearnFlex indicates any remaining value of the voucher for multiple use vouchers only.
17. If you do not want to apply a voucher towards the payment of your course, select its option button and click Remove.
The cost of the courses will be recalculated accordingly.
18. Click Next.
The Registration – Payment Method screen is displayed:
Payment Method (Credit Card)
19. Use the Method drop-down list to specify how you will pay for this course.
Note: The information on this screen changes depending on your selection in the Method drop-down list. Each method and their corresponding fields are explained below.
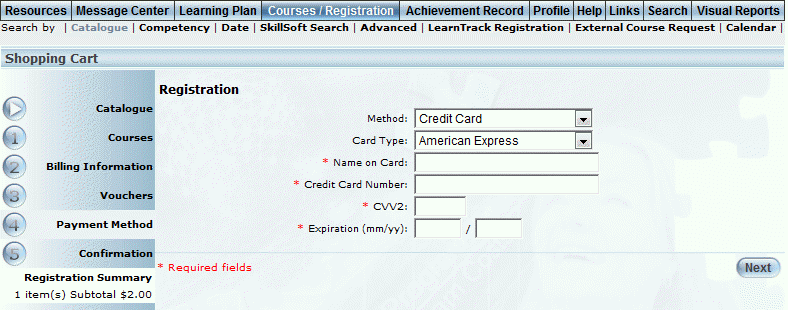
Credit Card
20. Use the Card Type drop-down list to select the type of credit card you will use to pay for this course.
21. In the Name on Card field, enter the name exactly as it appears on the credit card used to pay for this course.
22. In the CVV2 field, enter your credit card security code.
This value is located typically on the back of your credit card. This is an additional security mechanism often used for Internet and mail credit card transactions.
23. In the Credit Card Number field, enter your credit card number that will be charged with this course.
24. In the Expiration fields, enter the month and then year when your credit card will expire.
25. Click Next.
The following screen is displayed:
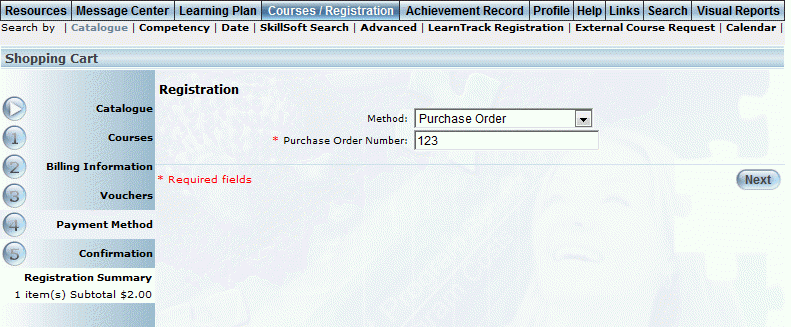
Payment Method (Purchase Order)
26. In the Purchase Order Number field, enter the number that is being used to record this purchase.
This value is unique on a per-client basis and must be processed externally.
Note: Depending on your system configuration, this value may be required.
27. Click Next.
Third Party Purchase
The following screen is displayed:
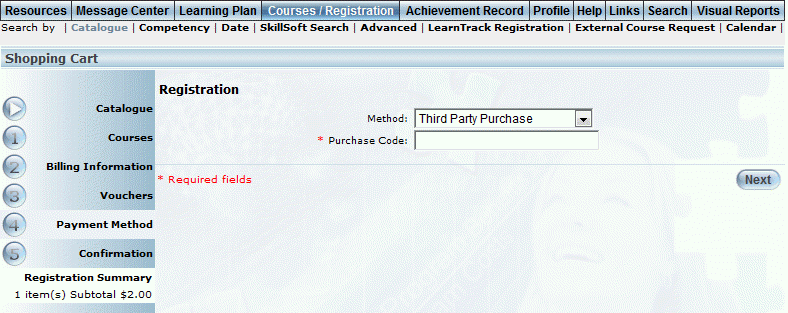
Payment Method (Third Party Purchase)
28. In the Purchase Code field, enter the code that is required for a third party to process this payment.
29. Click Next.
Confirmation of Registration
After clicking Next from any of the Payment Method screens, a screen similar to the following is displayed:
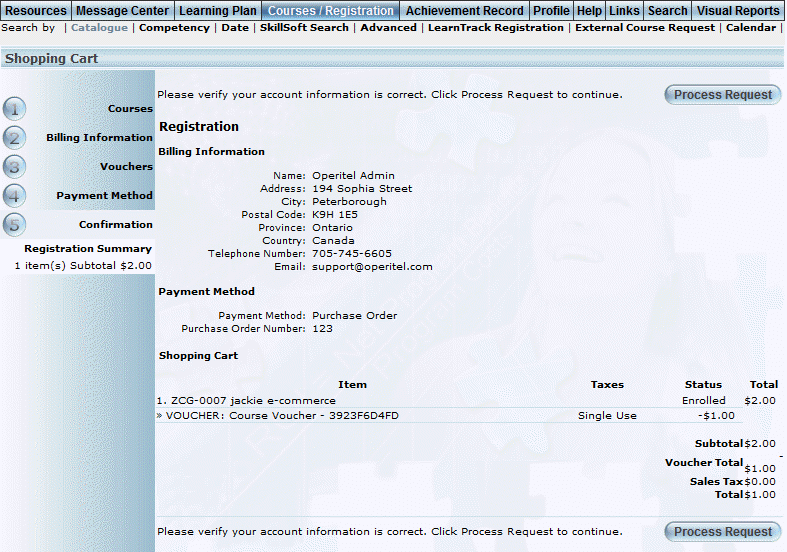
Purchase Order Confirmation
Note: Because the confirmation screen is similar regardless of the payment method selected, this document uses the purchase order confirmation as the example.
The Tax Analysis section displays a breakdown of taxes applied to the order. This section is displayed only if one or more taxes are applicable, but it can be hidden with a global setting. To change this setting, contact your LearnFlex representative.
30. Click Process Request.
Note: This button is displayed at the top of the screen (in addition to its default location at the bottom of the screen) when security setting 668: Top of Page Process Request Button is enabled.
The Receipt of Transaction (Purchase Order) screen is displayed:
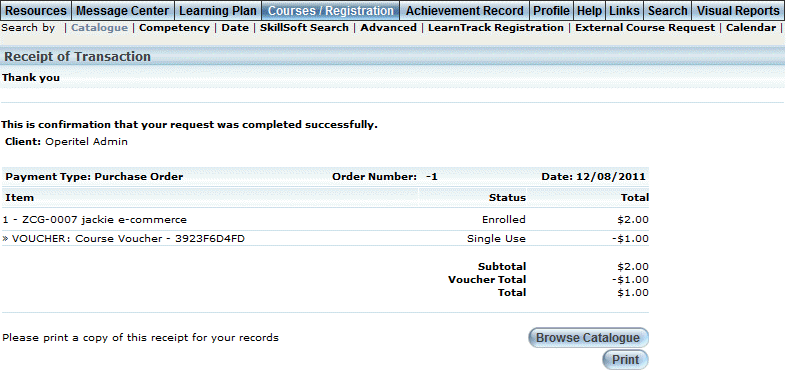
Receipt of Transaction (Purchase Order)
This screen confirms that the transaction was completed successfully. It also displays:
· Your name and the billing address you provided
· Payment type and order number
· Item that was purchased, date it was purchased, and its cost
· Your status in the course
31. You can perform the following operations:
· Click Browse Catalogue to return to the course catalogue to search for more courses.
· Click Print to print a copy of this receipt for your records.
Important: If you need a copy of this receipt for your records, you need to print it now, as you will not be able to do so after leaving this screen.