Introduction
The banner refers to the scrolling message a user sees on the home page (login page). The banner can be used to welcome users, inform users of a particular event, or promote the sale of a new course. It is customizable for each language and for each community. You can use the Theme Manager to add pictures to the banner.
You can choose not to display the banner as needed.
Procedure
1. From the Settings menu, select Presentation, then Banner.
Note: This left-hand side menu is displayed when security setting 60: Banner is enabled.
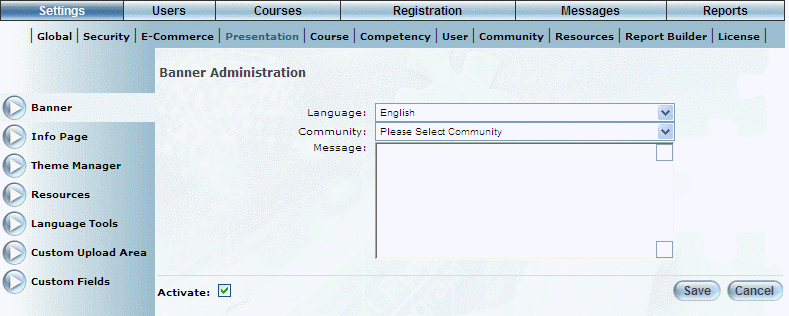
The Banner Administration screen is displayed:
Banner Administration
2. Use the Language drop-down list to specify the dynamic language that must be selected to display the banner message.
Note: This does not determine the language in which the message will be displayed.
Note: The languages available in this list are determined by a Client Setup global setting. Contact your LearnFlex representative for details.
You can select only one language per community.
3. Use the Community drop-down list to select the community that will see this banner.
4. In the Message text box, enter the message that will be displayed for the selected community when the dynamic language is selected.
You can enter a maximum of 500 characters.
Hint: You can have a different message for the same community when a different dynamic language is selected.
5. Check the Activate box to display the message.
Even if you enter one, the message is displayed only when this box is checked.
6. Click Save to keep your changes.
Any changes you make will be reflected in the banner text once you switch from Admin mode to User mode, or if you log out of the system and log back in.