Introduction
This section explain how to add, edit, and delete subject areas (also referred to simply as subjects) in LearnFlex. For general information, see Target Catalogue and Subject Areas.
Procedure
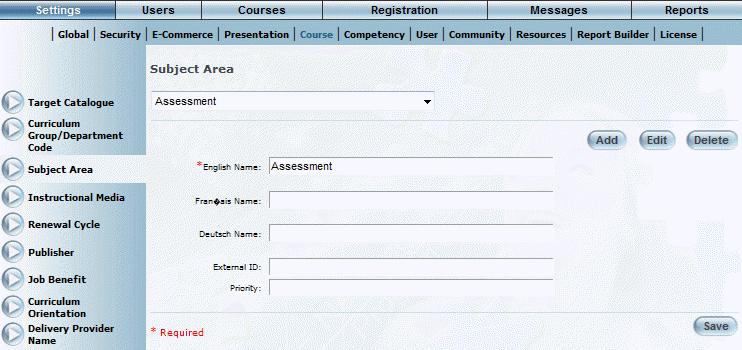
1. From the Settings menu, select Courses, then Subject Area.
The Subject Area screen is displayed.
2. You can perform the following operations:
· To edit a subject area: Use the drop-down list to select a subject area and click Edit. The screen is re-displayed with existing values (explained below) that you can change. After you make your changes, click Save.
· To delete a subject area: Use the drop-down list to select a subject area and click Delete. You will be asked to confirm the operation. Click OK.
Note: You cannot delete a subject area if it has already been assigned to a course. You will need to remove that subject area from every course before you can remove the subject area itself.
· To add a subject area: Click Add. The rest of the procedure assumes you are adding a subject area.
Note: The Add, Edit, Delete, and Save buttons are displayed when security setting 32: Function permissions is enabled.
The screen is re-displayed with additional fields:
Adding a Subject Area
3. In the English field, enter a name for your subject area.
You can enter a maximum of 100 characters (alphanumeric).
4. In the External ID field, enter a value that can be used for external reporting.
You can enter a maximum of 20 characters (alphanumeric).
5. In the Priority field, enter a number between 0 and 99999 to indicate which priority the subject area will have in searches.
6. Select Save to keep your changes.