Introduction
Business units constitute the hierarchical structure used to determine who can see/manage users in searches and reports whereas cohorts determine what menus users can access.
Procedure
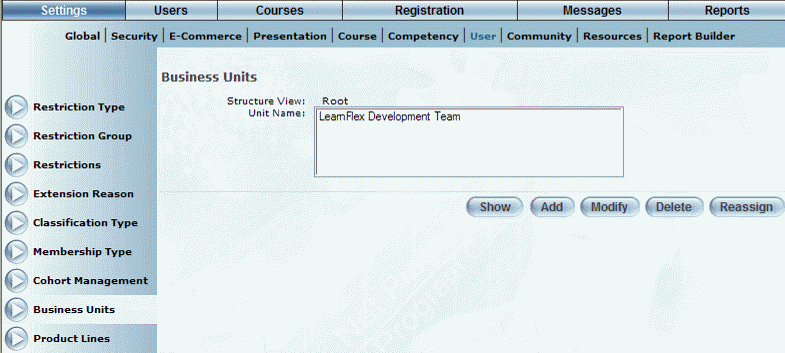
1. From the Settings menu, select User, then Business Unit.
The Business Units screen is displayed:
Adding a Business Unit
2. Select a group next to Structure.
Hint: Click Root to collapse the hierarchy.
3. In the Unit Name box, click on the business unit you want to modify.
4. Select Show to see the hierarchical path of the selected business unit.
5. Repeat to get to the level under which you want to create the new business unit.

Adding a Business Unit in a Specified Level
6. Click Add or select a business unit and click Modify.
Note: The Add button is displayed when security setting 627: Business Unit – Add is enabled. The Modify button is displayed when security setting 628: Business Unit - Modify is enabled.
The screen for adding a business unit is displayed:
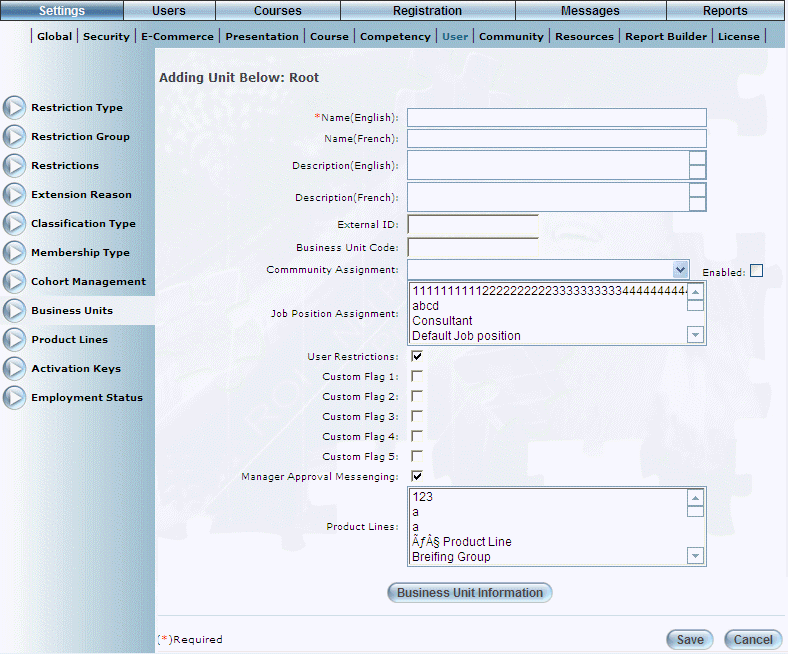
Adding a Business Unit
7. In the Name (English) field, enter the name of the business unit you are adding.
You can enter a maximum of 80 characters (alphanumeric) in this field. This is a required field.
8. In the Description text box, enter a brief summary of the business unit that you are creating.
9. In the External ID field, enter a value that can be used for external reporting purposes.
You can enter a maximum of 50 characters (alphanumeric) in this field.
Note: When updating a business unit, this field is editable only when security setting 702: Business Unit – Modify External ID is enabled. This field is always editable when adding a business unit regardless of the security setting.
10. In the Business Unit Code field, enter a business unit code value.
You can enter a maximum of 50 characters (alphanumeric) in this field.
11. Use the Community Code Assignment drop-down list to connect the business unit to a selected community.
12. Check the Enabled box to enable the community for this business unit.
13. Use the Job Position Assignment list to select one or more job positions you want to associate with this business unit.
14. Check the User Restrictions box to indicate that users in this business are restricted to interactions with only those users in business units below this one in the business unit hierarchy.
When displayed, check the Manager Approval Messaging box to indicate that the selected business unit will receive manager approval messages.
Note: The Manager Approval Messaging box is displayed when security setting 746: Business Unit – Manager Approval Messaging Flag is enabled.
15. Check one or more of the Custom Flag boxes to apply those custom flags to this business unit.
Note: The Custom Flag boxes are displayed when security setting 629: Business Unit Custom Flags is enabled.
16. When displayed, check the Manager Approval Messaging box to indicate if the selected business unit will receive Manager Approval messages.
Note: The Manager Approval Messaging box is displayed when security setting 746: Business Unit – Manager Approval Messaging Flag is enabled.
By default, this box is checked.
17. Use the Product Lines box to associate one or more product lines with this business unit.
18. Click Save to keep your changes.
19. You can perform the following operations from this screen:
· Click Business Unit Information to specify additional information about this business unit.
· Click Blackout Period Scheduling to specify blackout periods for this business unit.
· Click Business Unit Custom Fields to enter information about the business unit in user-defined fields. This button is available only when custom fields have been created for an account.