Introduction
Use this section to add a ticket to the LearnFlex Help Desk. Users in User mode cannot see those tickets that an administrator enters here.
Procedure
1. From the Settings menu, select Global, then Help Desk.
2. Click Add Ticket.
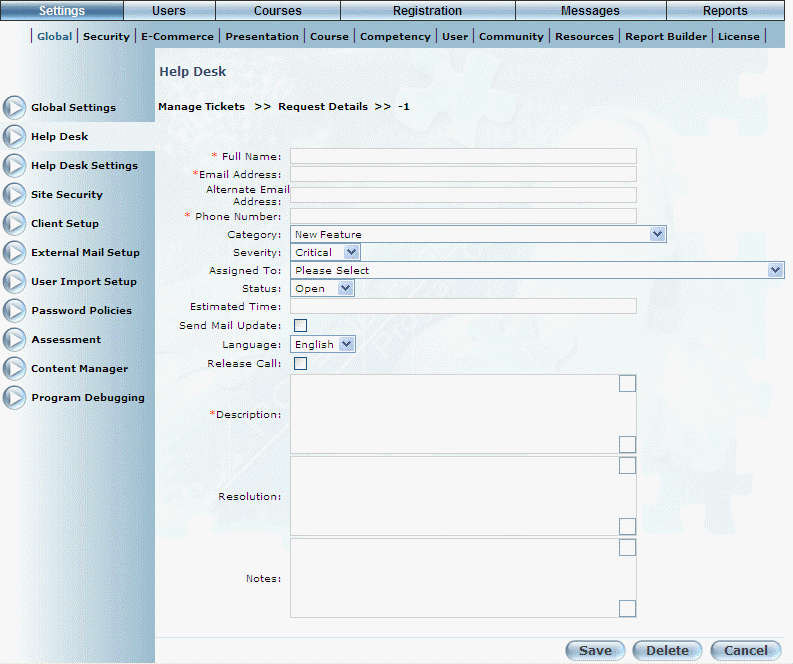
The following screen is displayed:
Adding a Help Desk Ticket
3. In the Full Name field, enter the name of the person who is entering the help desk ticket.
4. In the Email Address field, enter the email address of the person who is entering the help desk ticket.
5. In the Alternate Email Address field, enter a secondary email address of the person who is entering the help desk ticket.
6. In the Phone Number field, enter the phone number of the person who is entering the help desk ticket.
7. Use the Category drop-down list to select the category of the ticket.
Hint: These categories are created and maintained in Help Desk Settings.
8. Use the Severity drop-down list to indicate the importance of the help desk ticket.
9. Use the Assigned to drop-down list to select the person who will be assigned to manage the help desk ticket.
10. Use the Status drop-down list to indicate if the ticket is open or closed.
11. In the Estimated Time field, indicate the approximate time when the issue occurred.
12. Check the Send Mail Update box if you want email updates to be sent to your primary email address as specified in your profile.
13. Use the Language drop-down list to indicate if English or French should be used for the help desk ticket.
Despite what languages may be selected for your LearnFlex session, only English or French can be selected here.
14. Check the Release Call box if needed.
15. In the Description box, enter a description of the issue.
16. In the Resolution box, enter the resolution of the issue.
17. In the Notes box, enter any additional details about the help desk ticket.
18. Click Save to keep your changes.