Introduction
Use this section to give your report a title and decide who will be able to see this report under the Shared Reports sub-menu.
Business Unit Restrictions
When you use business unit ID as a criterion, the user running the report will only be able to select his or own business unit and those below. Default business units selected when designing the report will only be saved if View is not checked. If you use “Business Unit Name” with View checked, anyone running the report will be able to select any business unit: above or below one’s own.
Procedure
1. After specifying the necessary parameters of your Report Builder report, click Save Report.
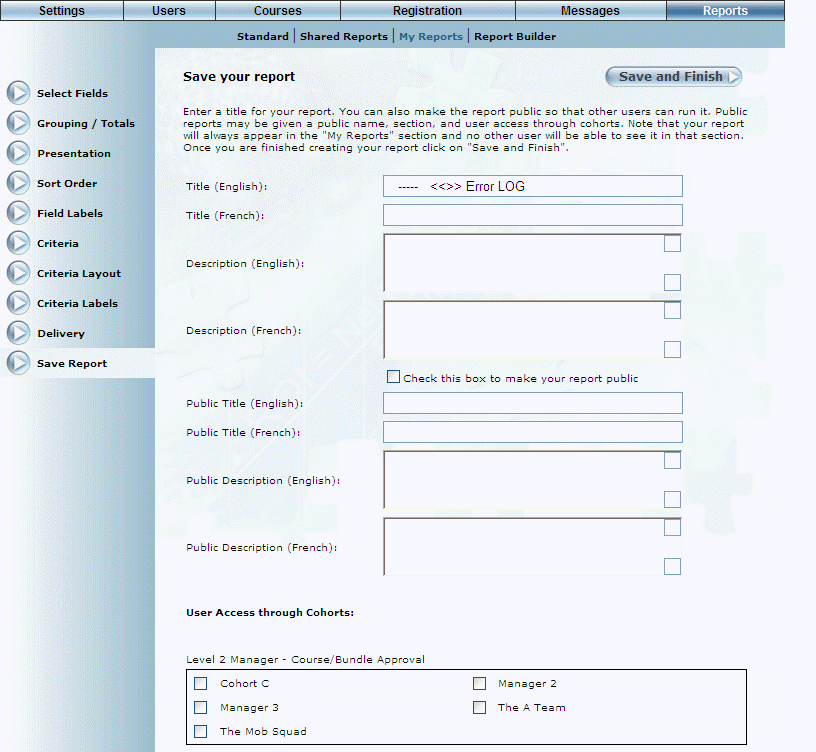
The following screen is displayed:
Report Builder – Saving Your Report
2. In the Title (English) field, enter the title of the report you are saving.
This title is the title visible to you.
3. In the Description (English) field, enter a summary of what this report does.
4. Check the Check this box to make your report public box if you want others to be able to access and run this report from the Shared Reports module.
5. In the Public Title (English) field, enter the title of this report that will be visible to others if you share your report.
6. In the User Access by Cohorts section, check the boxes of those cohorts whose users you want to be able to access this report (assuming it is shared).
7. Click Save and Finish to keep your changes.