Introduction
Use this section to create and manage the daylight saving times that you can apply to users and sessions.
Each daylight saving entry must be associated with a specific time zone. Creating a daylight saving time entry will be associated only with the selected time zone. If you want to add a daylight saving entry to multiple time zones, you will need to add each one individually.
Each time zone can have 0 or more daylight saving entries associated with it.
Procedure
1. From the Settings menu, select Presentation, then Daylight Saving.
Note: This left-hand side menu is displayed when security setting 776: Daylight Savings Times Settings is enabled.
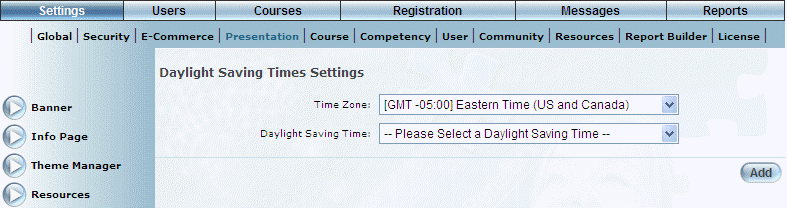
The following screen is displayed:
Daylight Saving Time - Main Screen
2. Use the Time Zone drop-own list to select the time zone whose daylight saving time entries you want to manage.
3. You can perform the following operations from this screen:
· Click Add to add a daylight saving time entry to the selected time zone.
· Select a daylight saving entry and click Edit to change its parameters.
· Select a daylight saving entry and click Delete to remove the entry.
Note: You cannot delete a daylight saving time that is already assigned to a user.