Introduction
Use this section to add, edit, or delete your E-Commerce custom fields. For example, an administrator may want to add budget numbers when courses are purchased which can be used for reporting purposes.
Custom fields can only be text fields. You can indicate if completing the field should be mandatory or not.
After you create your custom fields, you need to associate them with a custom field type (credit card, purchase order, third party purchase, and billing information) in a specific community. See E-Commerce Custom Field Assignment for details.
Procedure
1. From the Settings menu, select E-Commerce, then Custom Fields.
Note: This left-hand side is displayed when security setting 302: Custom Fields is enabled.
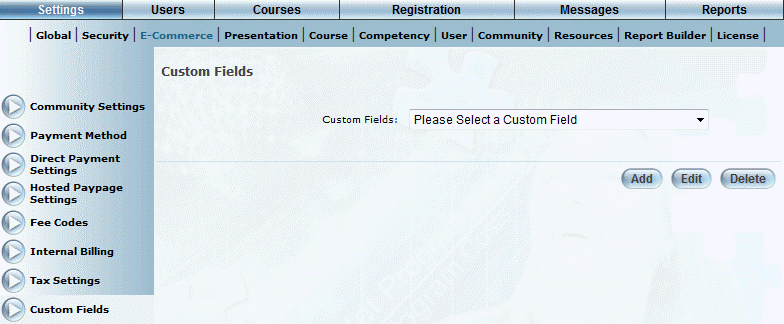
The Custom Fields screen is displayed:

E-Commerce Custom Fields
2. You can perform the following operations from this screen:
· Click Add to create a new custom field. See Adding an E-Commerce Custom Field for details.
· To edit a custom field, select it from the drop-down list and click Edit. See Adding an E-Commerce Custom Field for details about the values that you can update.
· To delete a custom field, select it from the drop-down list and click Delete.