Introduction
Use this section to associate the custom fields created from the E-Commerce Custom Fields module to a particular community and a custom field type (registration section where the custom field will be displayed).
The custom field will be displayed when users in the selected community use the selected custom field type when purchasing a course or LearnTrack.
Procedure
1. From the Settings menu, select E-Commerce, then Custom Field Assignment.
Note: This left-hand side menu is displayed when security setting 303: Custom Field Assignment is enabled.
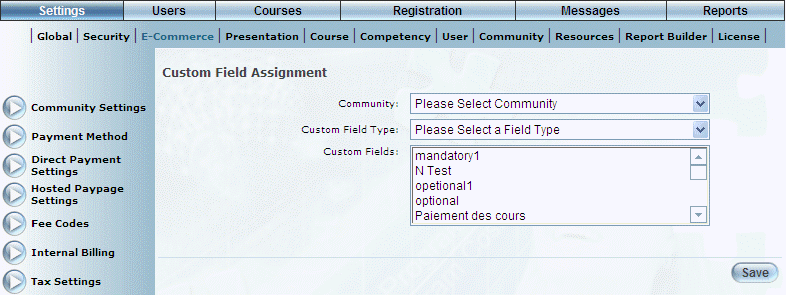
The Custom Field Assignment screen is displayed:
E-Commerce Custom Field Assignment
2. Use the Community drop-down list to select the community you want to associate with a custom field.
3. Use the Custom Field Type drop-down list to select the payment method where this custom field will be displayed.
4. In the Custom Field list, select one or more custom fields that you want to be available for completion.
5. Click Save to keep your changes.