Introduction
LearnFlex includes a custom upload area that allows for documents, images, and other content to be added to the system. This enhances the Welcome pages, custom links, course material, notifications, and custom help files. This utility should not be used to store any confidential information as any Internet users (both LearnFlex and non-LearnFlex) will have access to these files. This also provides functionality to link to these files from other systems like SharePoint or corporate web sites.
Note: This is not intended to be a document repository as there is minimum security and there is not any version control system included. It is more like a small FTP site inside of LearnFlex.
The main goal of the custom upload area is to be a repository for the Welcome page feature in LearnFlex. Users will require access to LearnFlex to create, update (rename), and delete all files and folders inside the custom upload area. Users may also copy folders and files within the upload area.
For security reasons, only the following permissions will apply to the upload area:
· Read
· Write
· Modify
· List Folder Contents (if applicable)
Procedure
1. From the Settings menu, select Presentation, then Custom Upload Area.
Note: This left-hand side menu is displayed when security setting 581: Custom Upload Area is enabled.
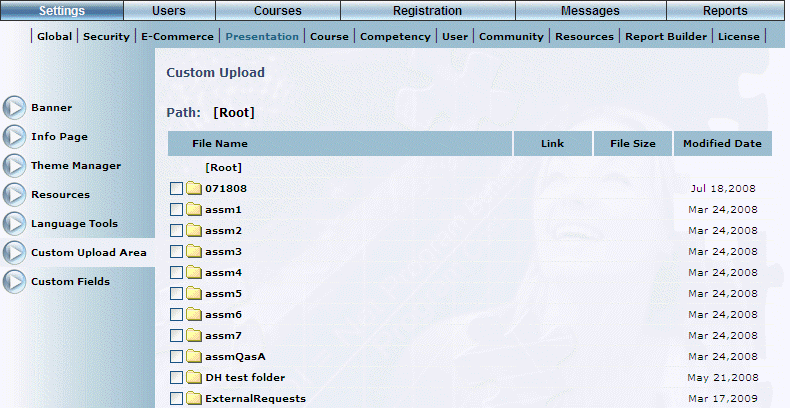
The Custom Upload screen is displayed:
Custom Upload Area Main Page
This screen displays all of the folders and files (not shown) that have been created. The date when each file or folder was last modified is also displayed. For files only, the size of each is displayed.
![]()