Introduction
Use this feature to add a link to a link heading, you can indicate in which language the link will be displayed, the name of the link that users will see, and the communities that will see this link.
Procedure
1. From the Managing Links screen, click Add.
The following screen is displayed:
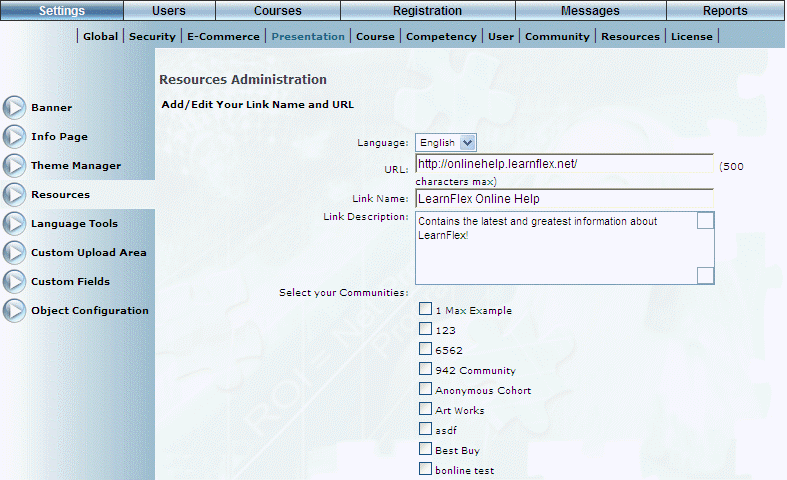
Adding a Link to a Link Heading
2. Use the Language drop-down list to indicate that language where this link will be displayed.
The values in this list are determined by a Client Setup global setting.
3. In the URL field, enter the fully qualified URL of the link that you want to be displayed when users click on it.
If you do not enter a URL, or enter an invalid one, a link will still be created but an error will be displayed when clicked.
Hint: Use the Language drop-down list to select another language and add a link for each language used in LearnFlex. When resources for multiple languages are configured, users will be directed to resources that correspond with the language chosen in the main Language drop-down list.
Note: Resource URLs must contain the entire address, including the protocol (for example: https://onlinehelp.learnflex.net, or ftp://onlinehelp.learnflex.net instead of onlinehelp.learnflex.net). If the address is incomplete, the URL will be appended to your main LearnFlex address (for example: http://www.learnflex.net/users/onlinehelp.learnflex.net) and an error will be displayed upon clicking the link.
4. In the Link Name field, enter the title of the link that users will see.
You can enter a maximum of 500 characters (alphanumeric).
5. In the Link Description text box, enter the description of the link that you want to be available to users when viewing the Links menu in User mode.
The description will be available for display through an expand icon.
You can enter a maximum of 1000 characters (alphanumeric) in this text box.
6. In the next section, check the boxes of those communities who will be able to see the link.
You can check as many boxes as needed.
7. Click Save to keep your changes.