Introduction
Feedback allows you to displays comments to users after they finish the test, based on the grade that they receive. For example, users who receive between 80-100% in a test can receive feedback saying "Good work!", while those who receive a mark between 40-49% can receive feedback saying "You need to re-take this test.".
Hint: You can add comments at any level of the test (test, section, task, or question).
Note: Percentage grades on this screen are displayed as stored in the database, with a maximum of two decimal places, rounded to two decimal places if applicable. See the Grade Precision Overview for more details.
Procedure
1. From the Courses menu, select Assessment.
2. Search for the test that you want to manage.
3. Select Feedback.
The Feedback Edit screen is displayed.
4. Click Add New.
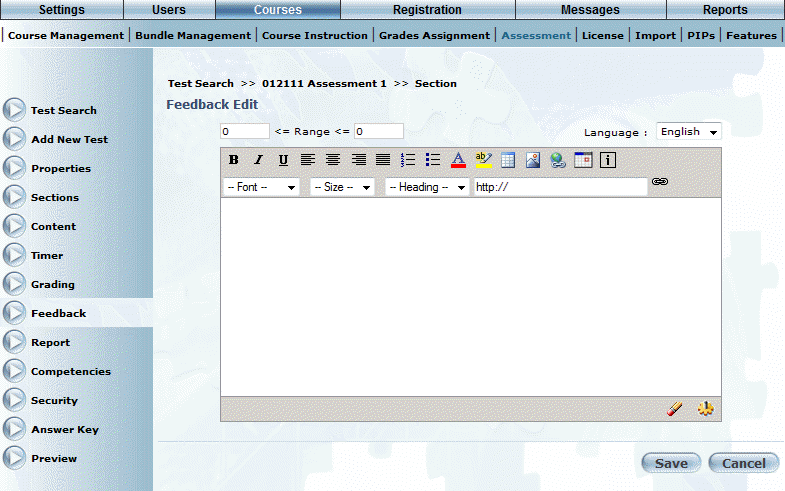
The Feedback Edit screen is displayed:
Adding Feedback to a Test
5. In the Range fields, enter the grade range to which this feedback will apply.
When a user gets a grade within this range, the feedback will be displayed to them after they complete the selected section. If you have multiple ranges within a section, those ranges cannot overlap.
You can enter a minimum value of -99 and a maximum value of 999, and the maximum value must be greater than the minimum value.
6. Use the Language drop-down list to specify the language for the feedback.
The languages available in this drop-down list depend on the selections made in the Language/Default Language properties for the test.
7. Use the text box to customize your feedback.
You can enter free-form text then use the drop-down lists to change the font, size, and colour. Additionally, you can use the tool bar (just above the drop-down lists) to apply more customizations to your text, centre your content, and add links, tables, graphics, plus more.
Hint: Hover over each button in the tool bar to see its tool tip.
Note: The
background colour icon only changes the background colour of the editor,
and not for the selected page. To change the background colour of the
page, you will need to edit its HTML code (which you can access by clicking
the View HTML icon ![]() , located in the bottom right-hand corner of the editor screen).
, located in the bottom right-hand corner of the editor screen).
8. Click the buttons in the lower right-hand corner to:
· Remove all formatting from text on the selected page. Note: You must select the text so that this feature can work.
· Click the View HTML button to format your page using HTML instead of WYSIWYG (the default).
9. Click Save to keep your changes.