
Introduction
Use this section to configure priority levels for session requests.
When a user wants to register for a different session of a course (different time, different region, and so on), the user can prioritize each request using one of the labels created here.
Note: After you create the priority levels here, you then need to enable those courses for session requests. See Course Additional for details.
Procedure
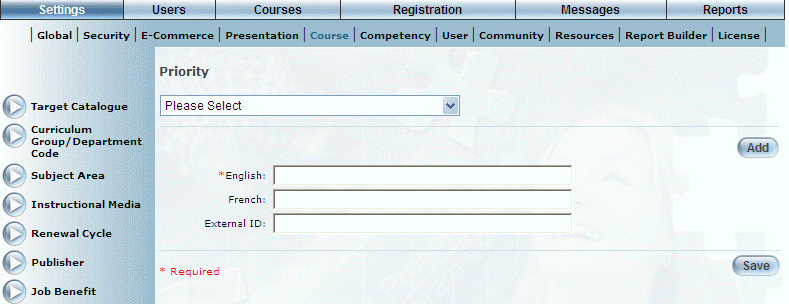
1. From the Settings menu, select Course, then Priority.
The Priority screen is displayed:
Managing Priority Levels
Note: The Add, Edit, Delete, and Save buttons are displayed when security setting 32: Function Permissions is enabled.
2. You can perform the following operations:
· To edit a priority level: Use the drop-down list to select a priority level and click Edit. The screen is re-displayed with existing values (explained below) that you can change. After you make your changes, click Save.
· To delete a priority level: Use the drop-down list to select a priority level and click Delete. You will be asked to confirm the operation. Click OK.
· To add a priority level: Click Add. The rest of the procedure assumes you are adding a priority level.
The screen is re-displayed:
Adding a Priority Level
3. In the English field, enter the name of the priority level that you are creating.
You can enter a maximum of 50 characters (alphanumeric).
4. In the External ID field, enter a value that can be used for external reporting.
You can enter a maximum of 20 characters (alphanumeric).
5. Click Save to keep your changes.