Introduction
This topic explains how to search for users, and then register and grade users assigned to published course sessions.
Procedure
1. From Admin mode, select Registration and then Registration and Grading sub-menu.
Note: This sub-menu is displayed when security setting 817: Registration and Grading is enabled.
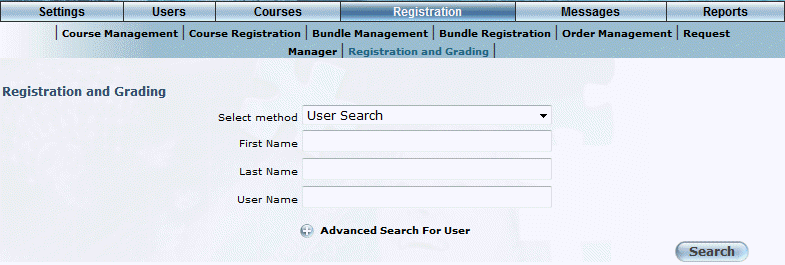
The Registration and Grading - Basic screen is displayed:
Registration and Grading - Basic Search
2. Use the Select Method drop-down list to select User Search.
3. In the First Name field, enter the first name of the user that you want to locate.
4. In the Last Name field, enter last name of the user that you want to locate.
Hint: The Advanced Search option will be displayed when security setting 836: Register And Grade - User Advanced Search is enabled. Click this option to filter your results with additional fields.
If you clicked Advanced Search, the screen is displayed with additional options:

Registration and Grading (User Search)
5. Use the Structure View link to navigate to the business units you want to include in the search.
You can:
· In the Unit Name box, select a business unit, then click Show to view the business units within the selected one. You can continue this process until you access the one you want to manage.
· Click either the Root or a business unit link in the Structure View section to return to that business unit.
The business units within the Unit Name box will be the ones included in the search.
6. Use the Community list box to select one or more communities whose users you want to include in the search.
7. Click Search.
The following screen will be displayed:
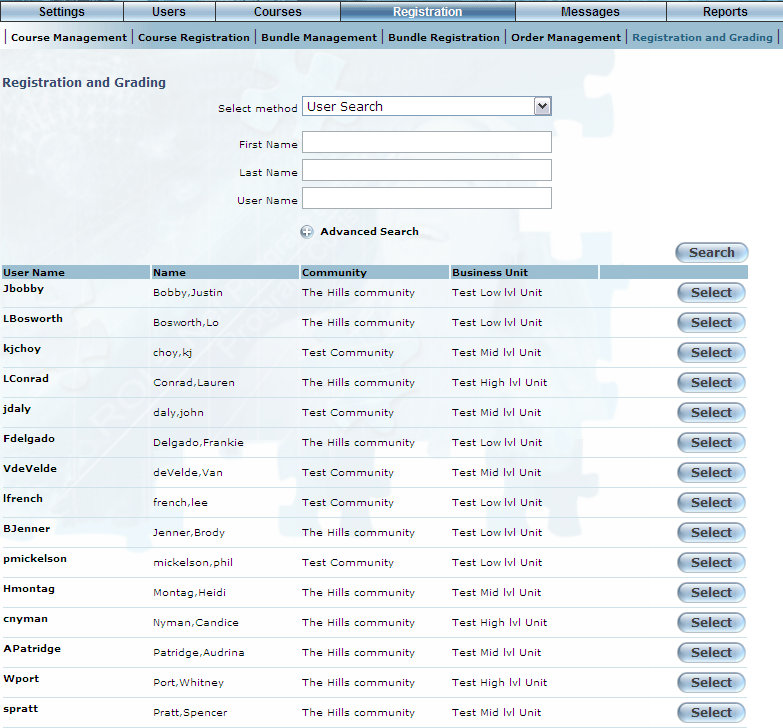
Registration and Grading (User Search Results)
8. You can perform the following operations from this screen:
· Click the user’s name to see details about the user.
· Click Select to go to the sessions selection page and choose a session for the selected user.
When you click Select, you will be taken to the Registration and Grading user search session select screen displayed below:
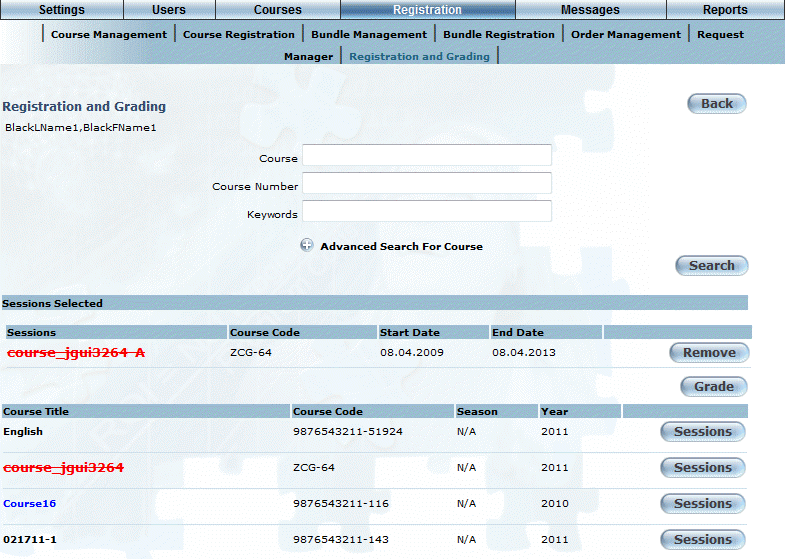
Registration and Grading (User Search - Session Select Screen)
9. You can perform the following operations on this screen:
· Click the Sessions button next to the listed courses to view any established sessions.
· Click the Add Session button to be go to the Session Basics screen and create a new session for the course.
· Click the Select button beside any session to add that session to your the list of sessions that you wish to grade.
· Click the Back button to return to the previous screen.
The list of selected sessions will appear at the bottom of the screen, as displayed below:
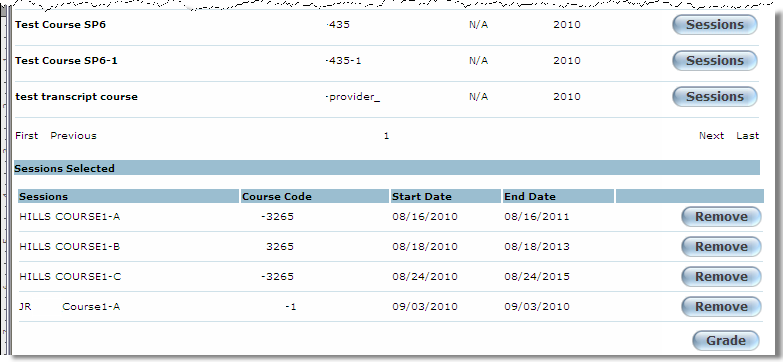
Registration and Grading (Sessions Selected to be Graded)
· Click Remove to remove the session from the list.
· Click Grade to go to the Registration and Grading (course session grading) screen.
The screen will be re-displayed as shown below:
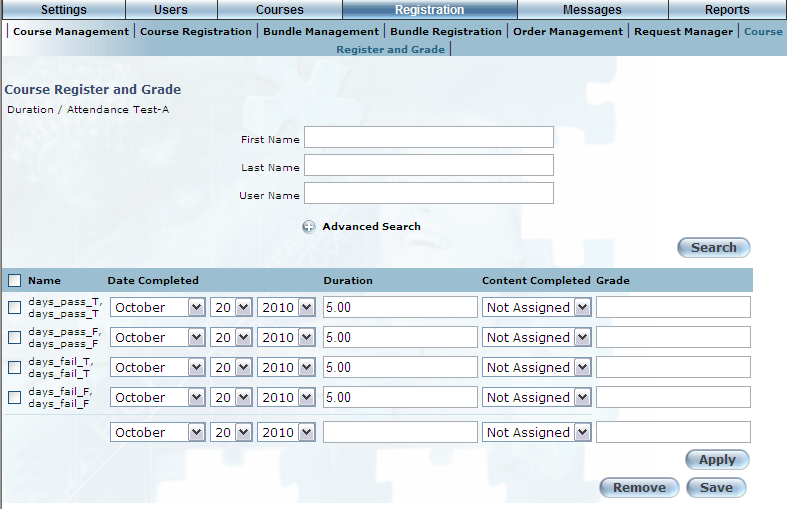
Registration and Grading (Course Session Grading)
10. To grade individual users:
· Check the box beside each user’s name to select them on the grading list.
· Use the Date Completed drop-down lists to specify the date when the user completed that course.
The date defaults to the current date, and the last available year changes dynamically to show 15 years in the future based on the current year.
· Use the Duration field to view the amount of time that the user spent in a session.
Note: The duration is manually recorded by the administrator on the Attendance Marking screen.
· Use the Content Completed drop-down list to select the user’s status in the course. These values are created in the Course Completion Status module.
· In the Grade field, enter the grade that the user achieved in each course.
Note:
If either of the options above is incomplete or erroneous, a red X ![]() is displayed beside the affected record.
is displayed beside the affected record.
Note: Based on the course configuration, some grades may require number values while others may require text.
Hint: Check the box next to each session that you want a mark applied to.
11. Click Save to keep your changes.
Note: If you click Apply without entering a grade into the bottom grade field (Apply to All field), then a blank mark will be applied to all selected sessions.