Procedure
1. Launch an E-Classroom course.
2. From the Communications menu, click New Poll.
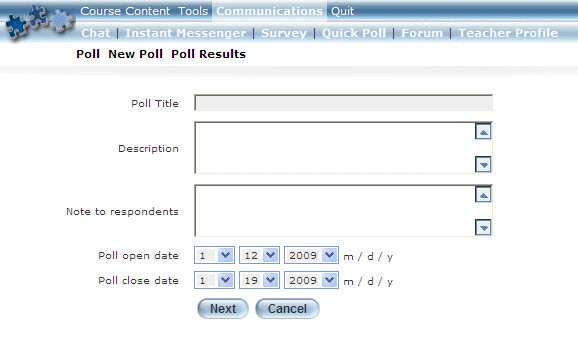
The following screen is displayed:
Creating a Quick Poll
3. In the Poll Title field, enter the name that you want to give to your poll.
This value is required.
4. In the Description box, enter a brief summary of the poll.
This value is mandatory.
5. In the Note to respondents box, enter any additional notes that you want to provide to users.
This value is required.
The above three values can help you find your poll during a search, and will be displayed to respondents when they are taking the poll.
6. Use the Poll open date drop-down lists to specify the month, day, and year when the poll will be open for responses.
The default date is the current date.
7. Use the Poll close date drop-down lists to specify the month, day, and year when the poll will no longer accept responses.
The default date is one week from the open date.
8. Click Next.
The following screen is displayed:
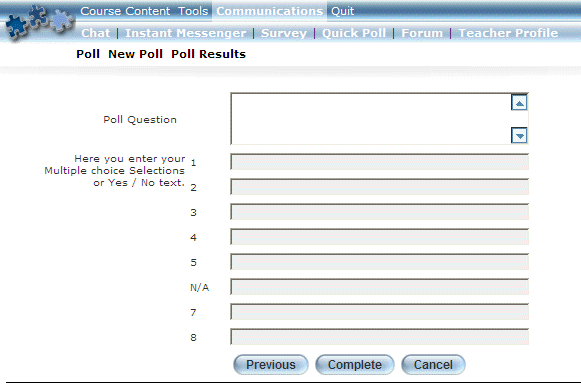
Creating a Poll – Specifying Your Poll Question
9. In the Poll Question box, enter your question.
This value is required.
10. In the next eight fields, enter the possible answers for the poll.
You need to write your answers in either a multiple choice or Yes/No format.
Note: You must enter answers for fields 1 and 2. All others are optional.
11. Click Complete.
You will return to the Quick Poll List screen.