Procedure
1. From the Settings menu, select Presentation, then Custom Upload.
2. Click the New Folder button.
Note: This button is available when security setting 582: Custom Upload Create is enabled.
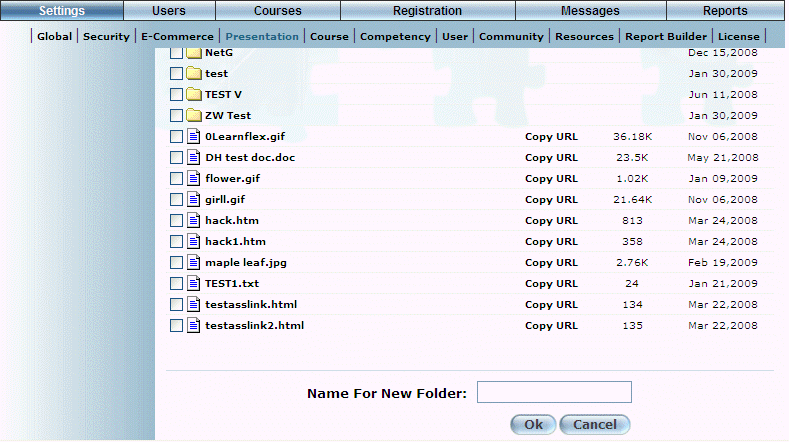
The following screen is displayed:

Creating a New Folder
3. In the Name for New Folder field, enter the name that you want to give to the folder.
Your folder name cannot contain spaces.
Note: Creating a folder with the name “Public” or “public” at the root level of the Custom Upload Area allows those resources within it to be accessed by users who have not logged into LearnFlex.
4. Click OK to save your changes.