Introduction
Use this section to create a new Chat topic. Each Chat needs a title, and optionally, a description. You can also specify if a Chat is restricted - available only to selected users, or non-restricted – available to all users who can access the session. If you create a restricted Chat, you will need to specify those users who can access it. You can change the users at any time.
Procedure
1. From any Chat window, click Make New Topic.
2. Click Create.
The following screen is displayed:
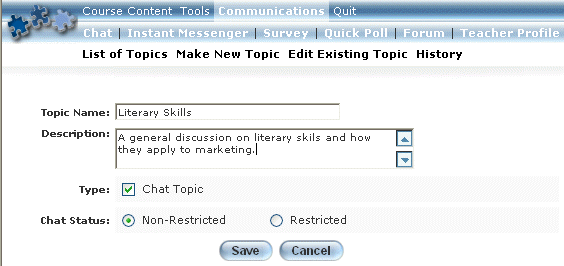
Creating a Chat Topic
3. In the Topic Name field, enter the name that you want to give to your topic.
This value is required.
4. In the Description box, enter a short summary of your topic.
This value is optional.
5. Check the Type box as needed.
6. Select a Chat Status option button to indicate if the chat is non-restricted or restricted (explained above).
7. Click Save.
The following screen is displayed:
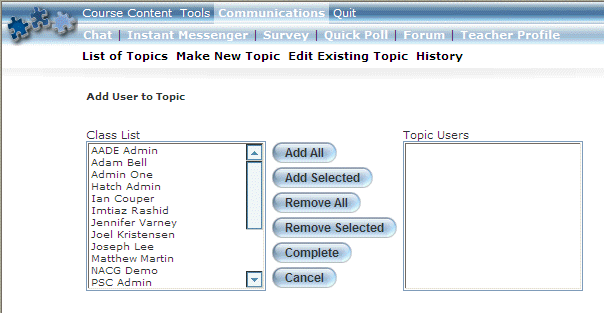
Managing Users in a Restricted Chat Topic
8. To select those users you want to be able to access this restricted Chat topic.
· Click Add All to add all users in the Class List box to the Topic Users box.
· In the Class List box, select those users that you want to access the restricted Chat topic, then click Add Selected. The selected users will be added to the Topic Users box.
9. To remove users from accessing the restricted Chat topic:
· Click Remove All to remove all users from the Topic Users box.
· In the Topic Users box, select those users you do not want to access the restricted Chat, and click Remove Selected. The selected users will be removed from the Topic Users box.
10. Click Complete to finish creating your Chat topic.
You will return to the list of topics where the newly created Chat topic is displayed.
![]()