Introduction
This option is used when changing online types or simply making a brand new course. You can also use this option if you do not want to have a history of changes by using the upload new version option mentioned above.
Procedure
1. Locate the course that you want to manage.
2. Click Course Content.
3. Select the session, language, and platform.
4. Based on your selections, select the Upload New Content option button when available.
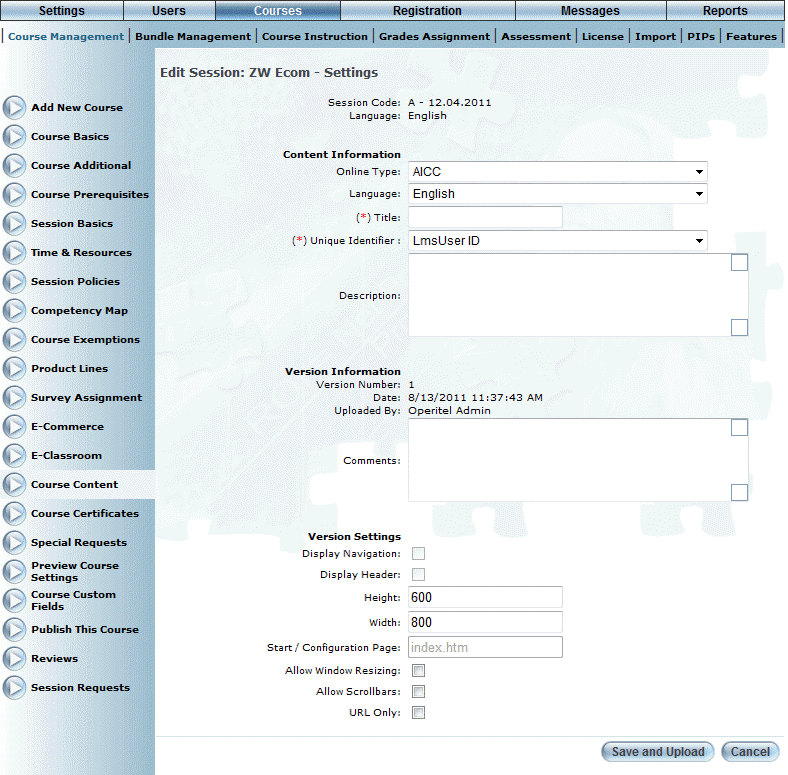
The following screen is displayed:
Upload New Content
In the Content Information section:
5. Use the Online Type drop-down list to select the online type for the course content.
6. Use the Language to specify the language in which the content will be displayed.
7. In the Title field, provide a title for your course content.
8. Use the Unique Identifier drop-down list to select a value as needed.
9. In the Description box, enter a summary of the new version.
10. In the Comments box, enter any comments about the course content.
In the Version Settings section:
11. In the Height and Width fields, specify the default size of the window where the course content will be displayed.
12. In the Start/Configuration Page field, enter the name of the starting page for your course content.
13. Check the Allow Window Resizing box if you want the user to be allowed to change the size of the window.
14. Check the Allow Scrollbars box to display scroll bars in the window where the course content is displayed.
15. Check the URL only box if only a URL should be displayed.
16. Click the Save and Upload button.
The following screen is displayed:
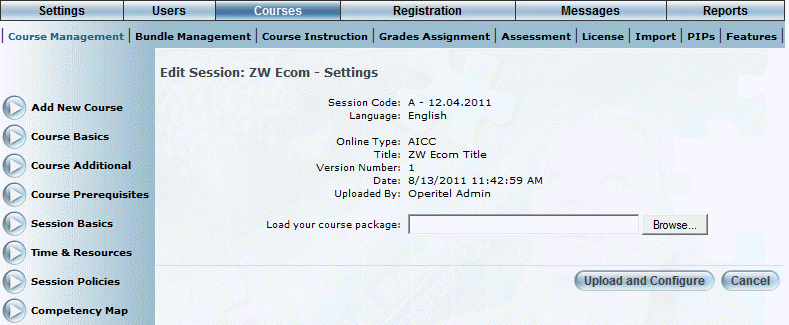
Selecting a File to Upload
17. Use the Browse button to locate the course content file that you want to upload.
18. Click Upload and Configure.