Introduction
After creating a header section, you need to specify those custom fields that will be displayed in each header section, and configure the appearance of those fields.
Procedure
1. From the Custom Field main screen, use the Section drop-down list to select the header section that will contain a custom field.
2. From the Custom Field Section screen, click Configure.
3. From the resulting screen, click Add.
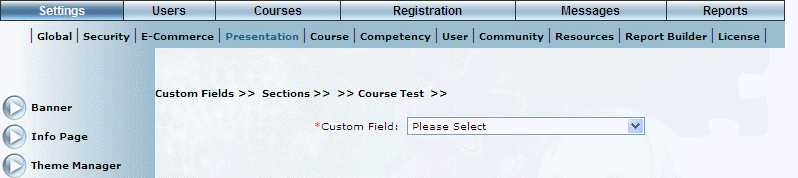
An example of the screen that is displayed is shown below:
Configuring a Custom Date Field for a Section
4. Use the Custom Field drop-down list to select the custom field that you want to configure for this header section.
The screen is re-displayed:
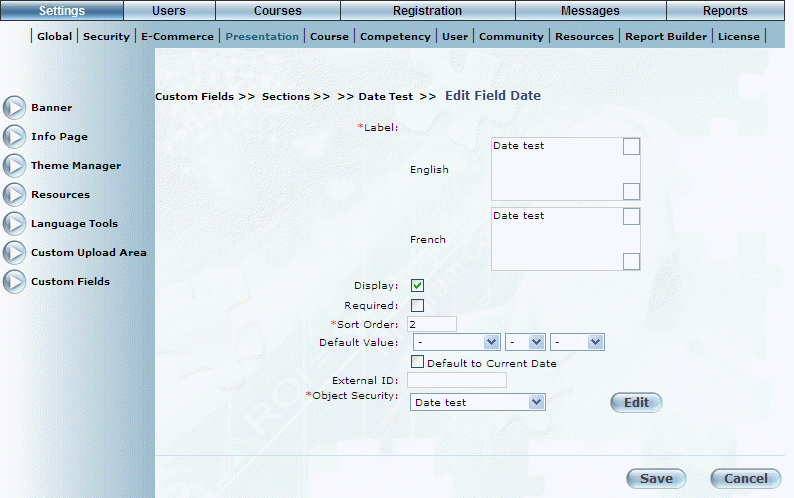
Configuring a Custom Field in a Header Section
The values that you can configure when adding a custom field to a header section depend on the type of custom field. In the example, a custom Date field is being configured for a Business Unit section.
5. In the English field, update the name of the header section if needed.
6. Change the selection in the Display box to display (checked) the custom field or not (unchecked) within the selected header section.
Note: For a custom field to be displayed within a header section, the Display box here and for the custom field itself must be checked.
7. Check the Required box to indicate if completing this field is mandatory (checked) or optional (unchecked).
If mandatory, the field will have the standard LearnFlex red mandatory asterisk beside it when viewed within the appropriate Custom Field screen.
8. In the Sort Order field, update the number to indicate the sequence of this header section in relation to others.
9. Use the Default Value section to specify the initial value that users will see when viewing this custom field within this header section.
You can:
· Leave the drop-down lists as “-“. This means that a default date will not be displayed.
· Use the drop-down lists to select an actual date.
· Check the Default to Current Date box to specify the default date as the current one. Checking this box disables the other fields in the Default Value section.
10. In the External ID field, enter or update a value that can be used for external reporting.
Note: If configuring an account custom field for the Overdue Course report, then this field must have a value of SupervisorName.
11. Use the Object Security drop-down list to specify the security setting that will be applied to this object.
This allows you to indicate which cohorts will be able to see this custom field. This drop-down list can have the following options:
· None: Indicates that there is no cohort security attached to this custom field. The custom field will be visible to everyone as long as the Display box has been checked for the custom field.
· Add New: Allows you to create a custom field security setting. You will need to specify a name.
Once assigned to the custom field, it will remain in this drop-down list until it has been removed from every custom field.
· <All user-defined entries>: Displays an entry for each security setting that has already been created (from above) and applied to at least one custom field. You can select a security setting and apply it to any field.
Note: After assigning object security to a custom field, you can specify which cohorts can view this custom field through cohort security. By default, the security setting will be enabled for all cohorts under the Custom Security menu option in the cohort security module.
Note: This drop-down list is displayed when security setting 726: Custom Field Security is enabled.
12. Click Save to keep your changes.
![]()