Introduction
Use this report to display those users who have achieved below a certain grade in assessment sections. You can use these details to determine what if those users require remedial training.
Note: The link to this report is displayed when security setting 759: Assessment Report Based on Sections is enabled.
Note: Percentage grades on this screen are displayed according to the global grade precision setting.
Procedure
1. From the Reports menu, select Standard, then Custom.
2. Click the Assessment Report Based on Sections link.
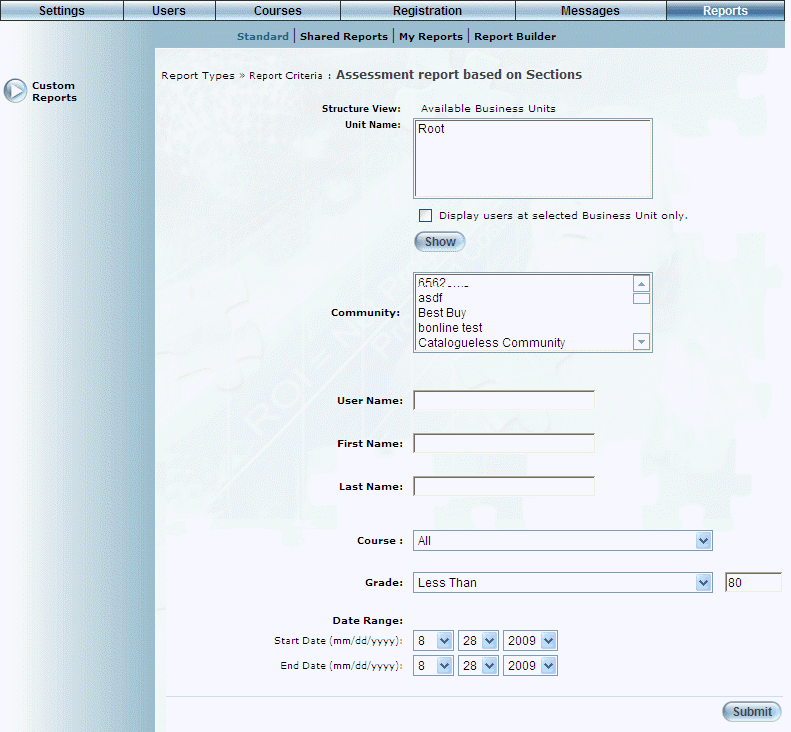
The following screen is displayed:
Assessment Report - Parameters
3. Use the Structure View link to navigate to the business units you want to include in the report.
You can:
· In the Unit Name box, select a business unit, then click Show to view the business units within the selected one. You can continue this process until you access the one you want to manage.
· Click either the Root or a business unit link in the Structure View section to return to that business unit.
The business units within the Unit Name box will be the ones included in the report.
4. Use the Community list box to select those communities you want to include in your search.
5. Check the Display users at Selected Business Unit only box to display only those users within the selected business unit only.
If you do not select one or more specific communities, the selection defaults to all communities.
6. In the User Name field, enter the user name whose results you want to view.
Partial names are not allowed.
7. In the First Name field, enter the first name of the user whose results you want to view.
Partial names are not allowed.
8. In the Last Name field, enter the last name of the user whose results you want to view.
Partial names are not allowed.
9. Use the Course drop-down list to select the course you want to include in your results.
This list includes all active courses.
10. Use the Grade drop-down list to indicate how you want to filter results by grade.
11. In the adjacent field, enter the grade number that will be used to filter your results.
For example, if you select Less Than with a value of 50, your results will return those users (filtered on other search criteria) who received a grade of less than 50 in a course.
12. Use the Date Range – Start Date and End Date drop-down lists to specify the dates when users must have achieved the grade specified above.
You need to enter an end date that is later than the start date.
Note: The start time begins at 12:01am on the selected day and the end time finishes at 11:59 pm on the selected day.
13. Click Submit.
Your results are displayed:

Assessment Report – Results
For each assessment section that matches your criteria (displayed at the top of the screen), the following columns of information are displayed:
· Business Units: Displays the business unit to which the user belongs.
· Last Name: Displays the last name of the user.
· First Name: Displays the first name of the user.
· Job Position: Displays the user’s job position.
· Course Name: Displays the name of the course that contained the assessment section.
· Section Name: Displays the name of the section that the user completed.
· Section Score: Displays the user’s score in the section.
· Course Completion Date: Displays the year, day, and month when the user completed the course.
A maximum of 100 records is displayed per screen.
Hint: You can change the sort order of the information by clicking on the appropriate column header (except for Job Position and Section Score).
14. You can perform the following operations from this screen:
· Click Printable Version to generate a version of the results that you can print.
· Click Microsoft Excel to display the results in Microsoft Excel.