Introduction
This section explains how to add text box, text area, label, or date custom fields. The process for each is the same.
Procedure
1. From the Custom Fields main screen, use the Field drop-down list to select text box, text area, label, or date.
2. Click Show.
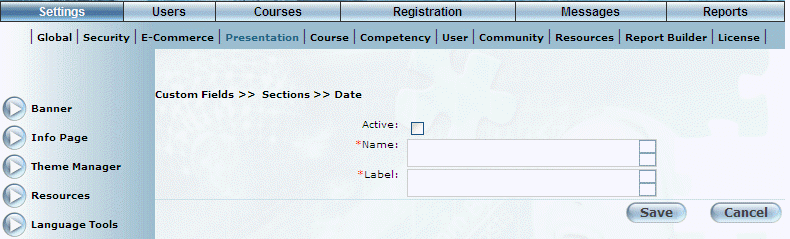
The following screen is displayed:
Text Box, Text Area, Label, or Date Custom Fields
3. Check the Active box if you want this custom field to be displayed within the header sections where it will be added.
Creating an inactive custom field means that it cannot be applied to any header sections, and therefore will not be available for user completion.
4. In the Name field, enter the name of the custom field that you are creating.
You can specify a maximum of 100 characters in this field.
5. In the Label field, enter the label of the custom field that will be displayed when configuring this custom field in a header section and when users access the applicable Custom Fields screen.
6. Click Save to keep your changes.
![]()