Procedure
1. From the Courses menu, click Add New Course.
The Course Basics screen is displayed.
2. Click Course Certificates.
3. Click Add.
The following screen is displayed:
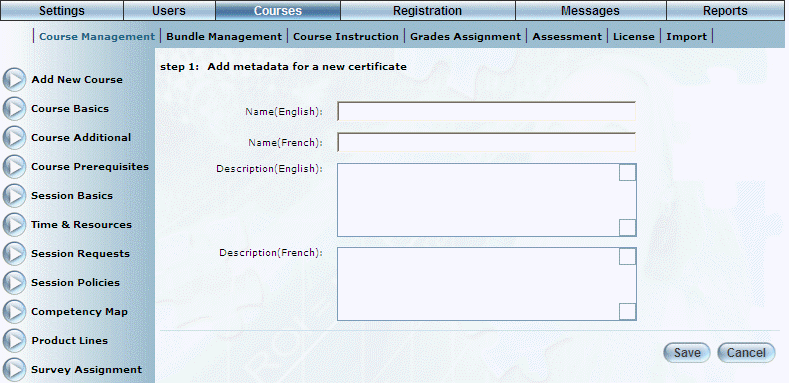
Adding a Course Certificate: Step 1
4. In the Name field, enter the name of the certificate that you are adding.
You can enter a maximum of 250 characters (alphanumeric).
5. In the Description field, provide a brief summary of the certificate.
6. Click Save to keep your changes.
The following screen is displayed:
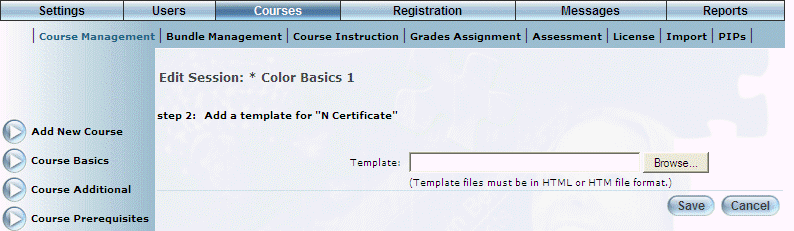
Adding a Course Certificate: Step 2
7. Use the Template field to enter the location of the template you want to use for this certificate.
Hint: If you are unsure of the location, you can use the Browse button to locate it.
Remember: Make sure that your template is in either an .html or .htm format.
8. Click Save to keep your changes.
The next screen in the process is displayed:

Adding a Course Certificate: Step 3
9. Use the Bg.Image field to enter the location of the background image you want to use for this certificate.
Hint: If you are unsure of the location, you can use the Browse button to locate it.
Remember: Make sure that your background image is in a .gif, .jpeg, or .jpg format.
10. Click Save to keep your changes.