Introduction
Pre and post content can be added to a test to offer explanations, examples, and instructions.
Procedure
1. Select Courses, then Assessment.
2. Locate the test you want to manage, then select Content.
Note: This left-hand side menu is displayed when security setting 255: Content is enabled.
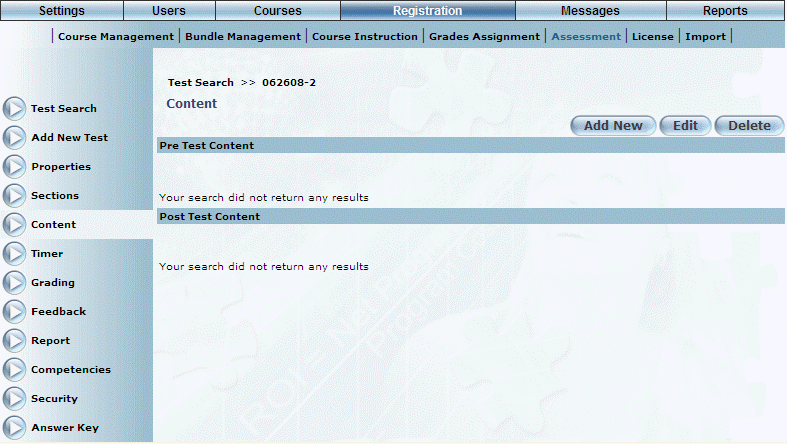
The following screen is displayed:
Adding Content to a Test
3. Select Add New to add pre or post test content.
The following screen is displayed:
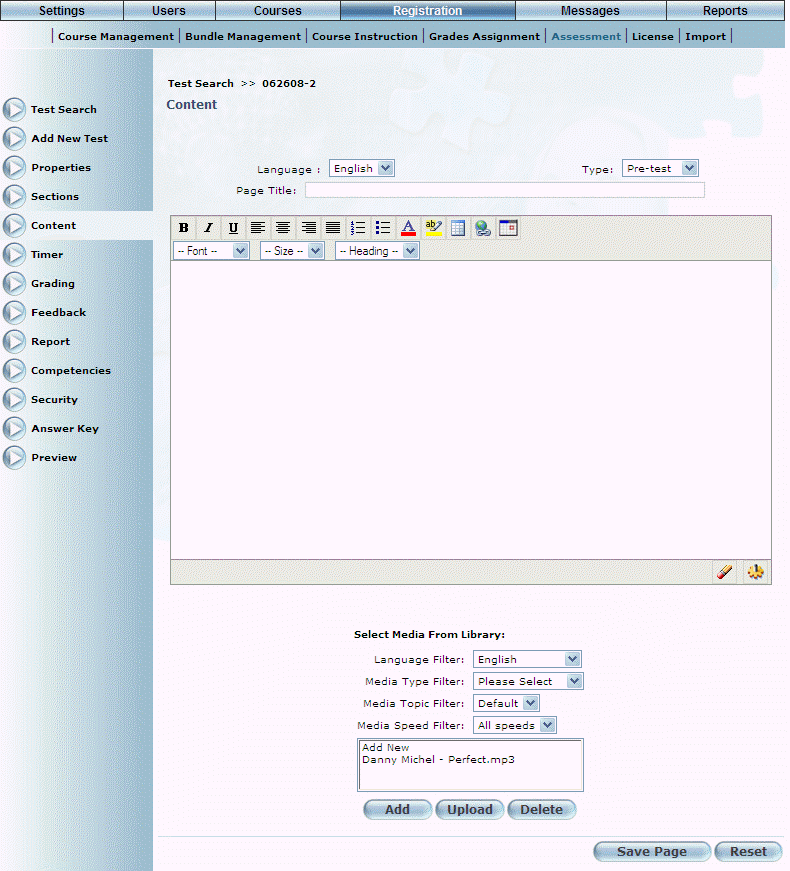
Adding Media to a Test
4. Use the Type drop-down list to specify the type of content that you are adding to the test.
5. Add HTML content.
Note: By default, the text editor is WYSIWYG. Click the wheel icon (beside the pencil) to enter your text in HTML.
6. Select media to upload, if applicable.
For example, you may attach a sound byte of a scenario and have students analyze the context, significance, and so on.
7. Select Save Page when finished.