Introduction
Use this section to add private and/or public folders in to an E-Classroom library. The screens below deal with adding a folder in the main Private folder.
For details about who can and cannot create each type of folder, see E-Classroom Library Overview.
Procedure
1. In User mode, launch your E-Classroom course from your learning plan.
2. From the Tools menu, select Library.
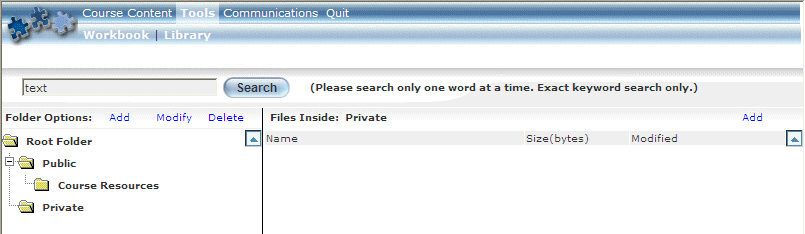
3. Click the Private folder icon (not the name).
The following screen is displayed:
Three links – Add, Modify, and Delete – will be displayed beside the Folder Options label (at the top of the left-hand pane).
4. Click Add.
The screen is re-displayed with details in the right-hand pane:
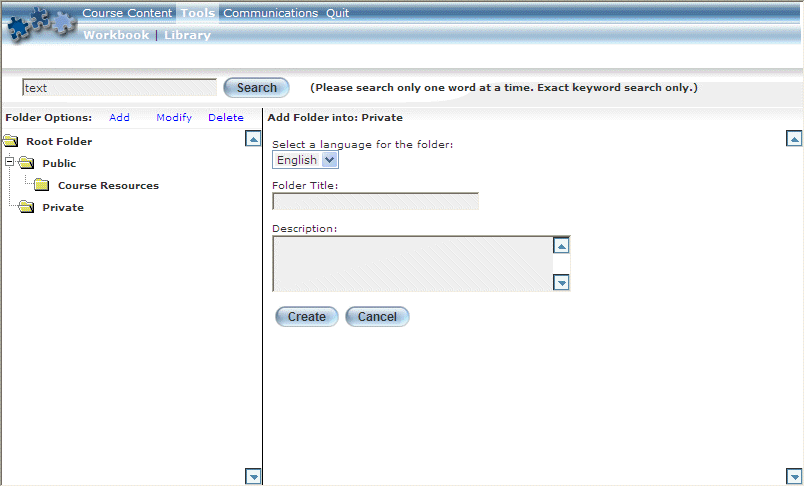
Adding a Folder to a Main Folder
5. Use the drop-down list to specify a language for the folder.
6. In the Folder Title field, enter the name of the folder that you are creating.
This value is required.
7. In the Description text box, enter a brief summary of the purpose of the folder.
This value is required.
8. Click Create.
The folder is created within the selected main folder.
![]()